Painting is one of the simplest and most cost-effective ways to refresh a home, but a flawless finish requires more than just a good brush.
If you are asking yourself, how do I prepare walls for painting, the truth is that prep work is the secret. Without it, even premium paint will peel, bubble, or fade long before it should.
In this guide, you will learn exactly how to prepare walls for painting so your finish looks smooth, professional, and long-lasting.
Why Wall Preparation Matters
Before we dive into the steps, let’s talk about why it is so important. Many homeowners jump straight into painting and are disappointed with the results. Skipping prep work often leads to:
- Paint peeling within months.
- Cracks, dents, and imperfections showing through fresh two coats.
- Uneven colors due to poor adhesion.
- Higher costs when touch-ups are needed sooner.
At Elite Paint Home Renovations, our process is designed to eliminate these issues. If you are asking how do I prepare walls for painting, remember this: preparation saves money, improves appearance, and extends the life of your investment in the long run.
Step 1: Clear the Space and Protect Your Floors
The first step in how do I prepare walls for painting is to make the room safe and accessible.
- Remove furniture, décor, wallpaper, and curtains from the work area.
- Take down light switch covers, outlet plates, and cover edges with tape.
- Lay down canvas drop cloths or plastic drop cloths to protect the floor.
- Use painter’s tape to cover trim and baseboards.
Safety tip: If you remove outlet or switch covers, turn off the power at the breaker. At Elite Paint Home Renovations, we always take these precautions on residential and commercial projects.
Step 2: Inspect the Walls for Damage
When you want to know how do I prepare walls for painting, the next step is inspection. Look closely at the surface:
- Small nail holes or dents? Fill them with filler using a putty knife.
- Cracks or larger gaps? Plan for spackle or caulking.
- Stains, mildew, or grime? These must be treated before painting.
- Uneven surfaces or old paint peeling? These areas need sanding or scraping.
Ignoring these problems is one of the biggest mistakes in preparing walls for painting. Even the best paint color cannot hide structural flaws.
Image: IMG_5891-1024×682.jpg
Step 3: Clean the Walls Thoroughly
Many homeowners overlook cleaning, but it is essential in how do I prepare walls for painting. Clean walls create a smooth base for new paint.
- For lightly soiled walls, wash with warm water, mild soap, and a damp rag in a circular motion.
- In kitchens, where grease builds up, use a stronger cleaner.
- In bathrooms or basements, remove mildew with clean water and rinse.
- Always wipe down and let walls before painting dry completely.
A vacuum cleaner with a brush attachment also helps remove dust before you start painting.
Step 4: Repair Cracks and Holes
Repairing damage is one of the most important parts of how do I prepare walls for painting.
- Use spackle or filler to fill holes and dents.
- Apply mesh tape with compound for larger cracks.
- Smooth out the surface and allow it to dry fully.
- Sand patched areas until they blend into a smooth surface.
Step 5: Sand the Surface for Smoothness
Sanding ensures that paint adheres correctly. For anyone learning how to prepare walls for painting, sanding is not optional.
- Use fine-grit sandpaper for uneven surfaces.
- Focus on glossy finishes, patched plaster, or old paint.
- After sanding, wipe the walls before painting with a damp cloth or vacuum cleaner to remove dust.
Skipping sanding is one of the most common mistakes in prepping walls for repainting.
Step 6: Prime the Wall
If you are wondering how do I prepare walls for painting when facing drastic color changes, dark walls, or stains, primer is the answer.
- Primer seals the surface, prevents stains from bleeding, and creates a solid base for the topcoat.
- Always use tinted primer on bare drywall or when covering dark walls.
- For wet or humid climates, oil based paint primers add extra durability.
- Apply a mist coat on new plaster before finishing with two coats of paint.
Elite Paint Home Renovations uses high-quality primers that resist wear and keep your project looking its best.
Step 7: Final Prep Before Painting
Once the big steps are done, there are a few final checks in how do I prepare walls for painting:
- Check for dirt, missed spots, or imperfections.
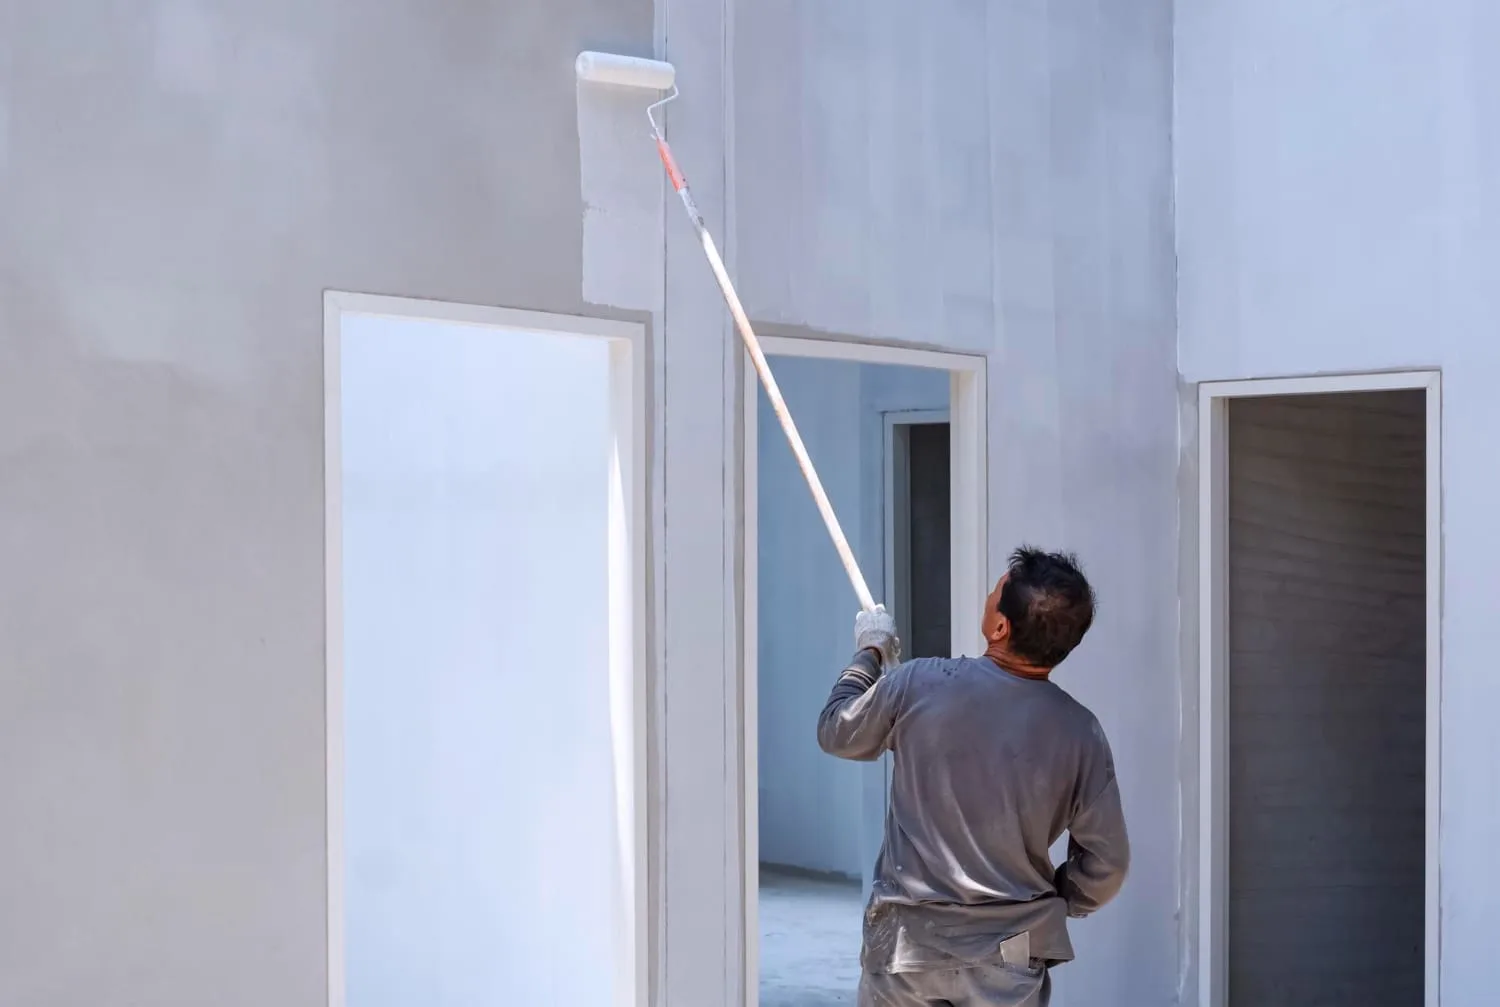
- Stir your paint and pour into a tray for roller or brush.
- Keep a damp cloth handy for drips.
- Make sure your prep walls are dry before you start painting.
At this point, your walls are finally ready for a professional paint job with multiple coats if needed.

Common Mistakes to Avoid
Avoid these common errors in preparing walls for painting:
- Painting over dirty walls or grime.
- Forgetting to prime drastic color changes.
- Using the wrong grit to sand.
- Skipping prep work like scraping old paint.
- Rushing instead of letting the surface fully dry.
Taking time with prep ensures your painting project achieves a durable, high-quality finish.
DIY vs. Professional Wall Preparation
So, how do I prepare walls for painting if I don’t have time? Here are the choices:
DIY Approach:
- Can cut costs in the short term.
- Works well for small projects like just walls.
- Requires supplies: drop cloths, roller, brush, plastic sheeting, wallpaper steamer, or even a paint sprayer.
DIY Cons:
- Time-consuming.
- Easy to miss imperfections.
- Results rarely match professional painters.
Professional Prep with Elite Paint Home Renovations:
- Experienced painters who apply at least two coats with care.
- Handle moving furniture, covering floor and trim work.
- Deliver a fair price and a flawless coat of new paint.
Additional Tips from the Experts
We hear “how do I prepare walls for painting” often. Here are bonus tips:
- Test your paint color on a small surface first.
- Use tape carefully to avoid pulling off the primer.
- Remove wallpaper with a wallpaper steamer for a smooth surface.
- Always rinse and let walls before painting dry in proper light.
- Apply multiple quotes to find the best deal for your specific project.
- For ceilings, prep them first before moving to walls.
These details separate a rushed job from a lasting professional paint job.

Bringing It All Together
So, how do I prepare walls for painting? The process is simple:
- Clear the room and protect the floor with drop cloths.
- Inspect walls for cracks, holes, and stains.
- Wash and clean walls with warm water and a damp rag.
- Fill gaps with filler, then sand for a smooth base.
- Apply primer or tinted primer.
- Prime, then apply two coats of quality paint.
- Start painting with the right brush, roller, and tools.
These steps guarantee durable results. If you want a professional paint job, our team at Elite Paint Home Renovations can handle everything from interior painting to professional exterior house painting, cabinets, and flooring.
Ready for a Flawless Paint Finish?
Skip the stress of DIY project risks. Elite Paint Home Renovations is the trusted painting contractor for homeowners who want results. We deliver high quality paint finishes for old houses, multiple stories, and every painting project.
Contact us today to schedule your painting project and protect your home with a new coat that lasts.


