Painting your cabinets can be a cost-effective way to refresh your kitchen or bathroom. A fresh coat of paint can transform old, worn-out cabinets into stylish and modern fixtures. Whether you’re aiming for a bold new color or a classic, clean look, the right techniques and tools will help you achieve a professional finish. We know that cabinet painting can seem like a daunting task, but with the right guidance, it’s entirely manageable.
In Clinton Township, many homeowners choose to paint their cabinets to breathe new life into their living spaces. Proper preparation and technique are key to a successful project. Using the right tools, cleaning thoroughly, and sanding properly can make a big difference in the final result. It’s also essential to choose the right type of paint and finish to ensure durability and easy maintenance.
So, we’ll walk you through the essential tools and materials you need for cabinet painting. With these tips, you’ll be well on your way to achieving beautifully painted cabinets that enhance the overall look and feel of your home.
Essential Tools and Materials for Cabinet Painting
Before you start painting your cabinets, gather all the necessary tools and materials to ensure a smooth and professional finish. Here’s a list of what you’ll need:
- Quality Paint: Choose a durable paint that is designed for cabinets, such as acrylic or alkyd paint.
- Primer: A high-quality primer helps paint adhere better to the cabinet surfaces and blocks any stains or wood tannins from bleeding through.
- Sandpaper or Sanding Sponge: Used for scuffing the surface to ensure the primer and paint stick well.
- Painter’s Tape: Helps protect areas around the cabinets that you don’t want to be painted.
- Drop Cloths: Protect your floors and countertops from paint splatters.
- Paint Brushes and Rollers: Use a high-quality brush for detailed areas and a roller for larger, flat surfaces.
- Screwdriver: For removing cabinet doors, drawers, and hardware.
- Cleaning Supplies: Dish soap, a scrub brush, and a lint-free cloth for cleaning the surfaces before painting.
Each tool and material plays a critical role in ensuring a smooth, professional finish. The right paint and primer create a durable and attractive coating. Sandpaper helps the primer and paint stick better, and painter’s tape ensures sharp, clean lines. Drop cloths keep your workspace neat, while quality brushes and rollers prevent streaks and lines in the paint. Having everything ready before you start saves time and makes the process much smoother.
Step-by-Step Guide to Prepping Your Cabinets
Preparing your cabinets properly before painting is crucial for a lasting and beautiful finish. Follow these steps to get your cabinets ready for painting:
- Remove Cabinet Doors and Hardware: Use a screwdriver to take off all cabinet doors, drawers, and hardware. Label each piece so you know where it belongs when it’s time to put everything back.
- Clean Thoroughly: Mix dish soap with warm water and scrub all surfaces with a brush to remove grease, grime, and dirt. Rinse with clean water and let everything dry completely. Clean surfaces ensure better paint adhesion.
- Sand the Surfaces: Use sandpaper or a sanding sponge to lightly scuff all surfaces to be painted. This helps the primer and paint adhere better. Wipe away any dust with a damp cloth afterward.
- Protect Surrounding Areas: Use painter’s tape to cover edges where the cabinets meet walls, floors, and countertops. Lay down drop cloths to protect your floors and work surfaces.
- Apply Primer: Once everything is clean and prepped, apply a high-quality primer to all surfaces that will be painted. This step is essential for blocking stains and providing a smooth base for the paint. Let the primer dry according to the manufacturer’s instructions.
By following these steps, you ensure that your cabinets are properly prepared for painting, which helps achieve a professional-looking finish that lasts. Proper prep work is the foundation of any successful painting project.
Techniques for a Flawless Paint Application
Achieving a flawless paint application on your cabinets requires the right techniques. Here are three popular methods: brushing, rolling, and spraying.
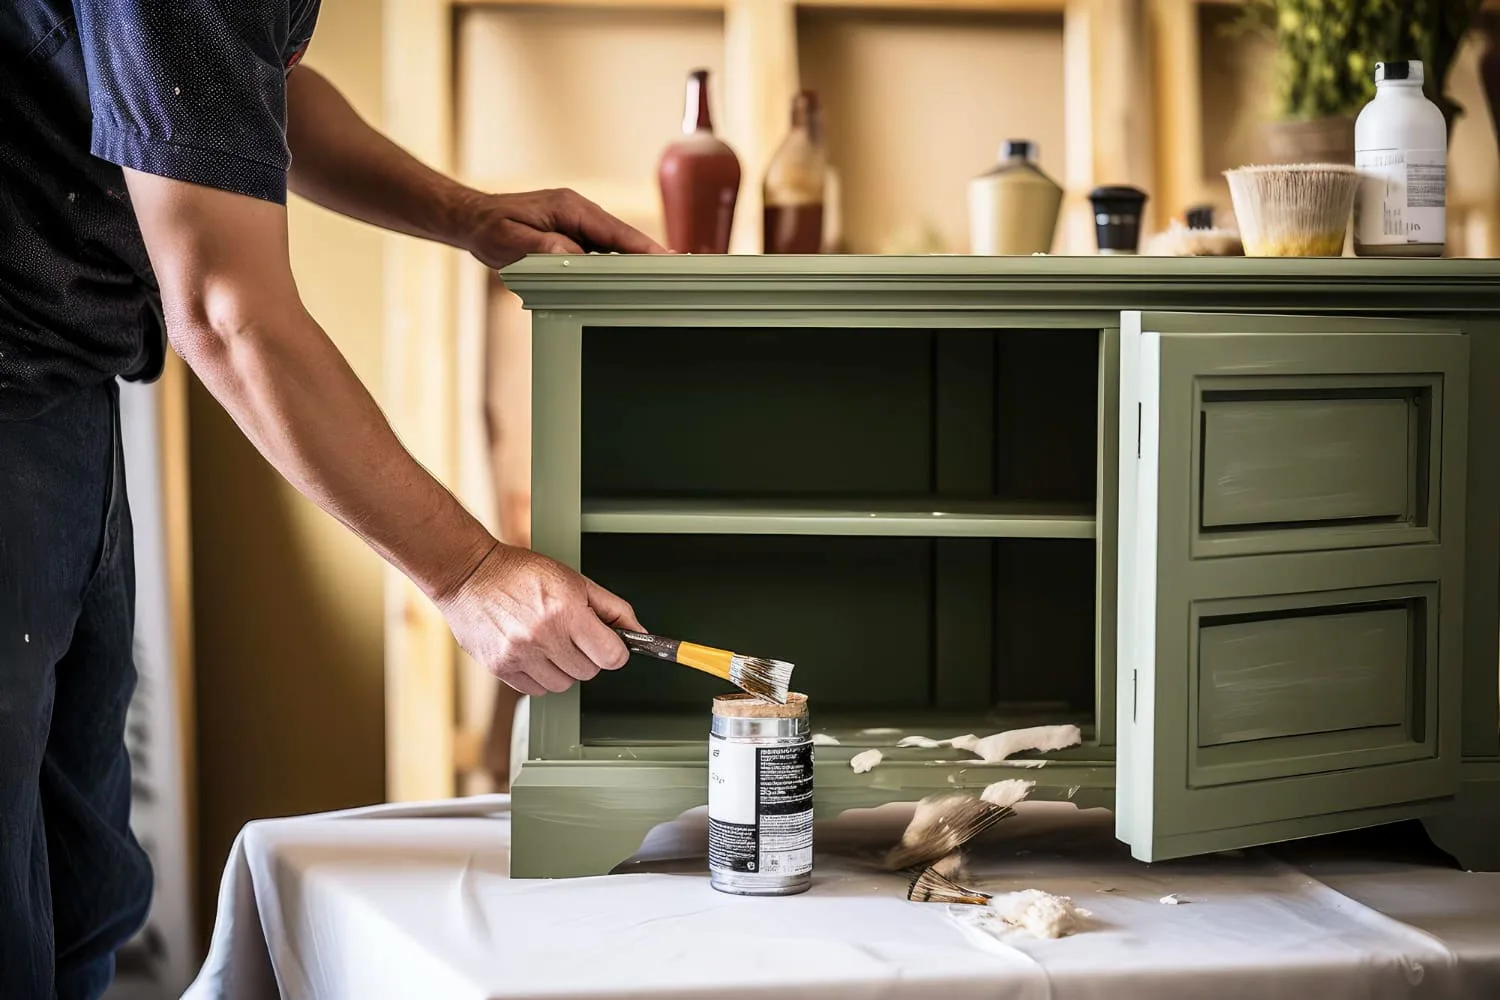
- Brushing: Using a high-quality brush, apply paint with long, even strokes. Brushes are great for detailed areas and edges. The key is to use a steady hand and avoid pressing too hard, which can leave brush marks.
- Rolling: For larger, flat surfaces, a roller can help achieve a smooth finish. Use a small foam roller for cabinets to minimize texture. Be sure to apply thin coats to avoid drips and runs.
- Spraying: If you have access to a paint sprayer, this method can provide the smoothest finish. Spraying applies paint evenly and quickly, but you need to protect surrounding areas from overspray. Practice on a piece of cardboard first to get the hang of it.
Best practices for a smooth coat include applying multiple thin layers rather than one thick one. Allow each coat to dry thoroughly before applying the next to avoid smudging or peeling. Sand lightly between coats for an ultra-smooth finish. Keeping consistent pressure and movement helps avoid uneven coats and ensures a professional look.
Maintaining Your Newly Painted Cabinets
After investing time and effort into painting your cabinets, you’ll want them to look beautiful for years to come. Here are some tips for maintenance:
- Regular Cleaning: Use a soft cloth and a gentle soap to clean your cabinets. Avoid harsh chemicals that can damage the paint.
- Prompt Spill Clean-up: Address spills immediately to prevent stains and damage. Wipe with a damp cloth and dry thoroughly.
- Touch-Up Kits: Keep a small amount of leftover paint for touch-ups. Minor scratches or chips can be easily fixed with a small brush.
- Avoid Excess Moisture: Keep wet items like towels and sponges away from painted surfaces to prevent paint from lifting.
By following these maintenance steps, your cabinets will stay fresh and intact. Routine care is essential for extending the life of the paint job and ensuring your cabinets continue to enhance your home’s aesthetic.
Achieve Stunning Results with These Cabinet Painting Tips
Painting your cabinets can dramatically transform the look of your kitchen or bathroom. With the right tools, thorough preparation, proper painting techniques, and regular maintenance, you can achieve a professional and long-lasting finish. This guide provides the fundamental steps required to take on this rewarding project with confidence. We make sure that your cabinets look stunning and stay that way for years to come.
If you’re ready to refresh your cabinets or need any other painting needs in Roseville,MI and Clinton Township, we are here to help. Contact Elite Paint Home Renovations today to learn more about our professional cabinet painting services in Clinton Township and the surrounding areas. Let’s give your home the makeover it deserves!